Cross Sections and Metallography Laboratory
Cross sections are prepared by mounting samples in epoxy and then grinding and polishing the mount for imaging in the optical microscope or Scanning Electron Microscopy (SEM). Valuable information from cross sectioning can include: film thicknesses, inclusions, corrosion thickness, dimensional verification, and subsurface defects. Metallographic cross sections are typically etched to reveal the microstructure. Microstructural analysis can provide information about heat treatment history, corrosion susceptibility, as well as undesirable microconstituents.
Our cross sectioning lab has an Isomet 1000 diamond saw, an Ecomet 6 grinder/polisher capable of automatically grinding and polishing up to six samples at once, and a Nikon Epiphot 300 inverted microscope with digital image acquisition. We use IQMaterials™ image processing software for automatic grain size measurement, phase percent distribution and accurate NIST-calibrated measurements.
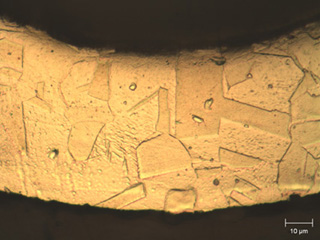

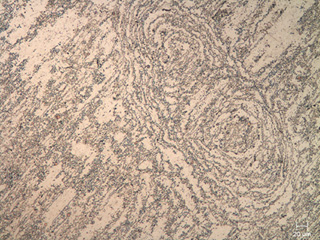
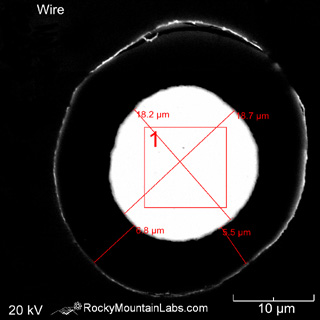
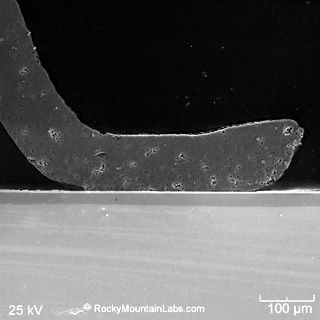
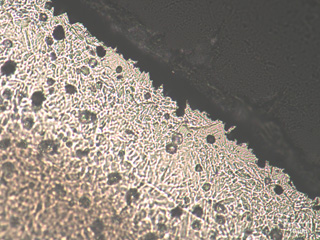
A number of techniques exist in quantitative metallographic analysis. Rocky Mountain Laboratories’ Metallographic Analysis Laboratory is fully equipped to provide a broad range of microstructure analysis and metal testing laboratory work.
Metallographic analysis can be used as a tool to help identify a metal or alloy, to determine whether an alloy was processed correctly, to examine multiple phases within a material, to locate and characterize imperfections such as voids or impurities, or to observe damaged or degraded areas in failure analysis investigations. The method
most often used in such evaluations is microscopy. Both optical and scanning electron microscopy with energy dispersive x-ray analysis (SEM/EDX) can be useful in metallographic analysis. X-ray photoelectron spectroscopy is also useful in the measurement of carbide and graphic inclusions in microstructure analysis.
Metallurgical analysis usually utilizes cross section polishing and sometimes chemical or electrochemical etching to observe metallographic structures.
Cross sections are prepared by mounting samples in epoxy, then grinding and polishing the mount for imaging in the optical microscope or Scanning Electron Microscopy (SEM). Valuable information from cross sectioning can include film thickness, inclusions, corrosion thickness, dimensional verification and subsurface defects. Metallographic
cross sections are typically etched to reveal the microstructure. Microstructural analysis can provide information about heat treat history and corrosion susceptibility as well as undesirable microconstituents.
Rocky Mountain Laboratories’ metal testing laboratory has an Isomet 1000 diamond saw, an Ecomet 6 grinder/polisher capable of automatically grinding and polishing up to six samples at once and a Nikon Epiphot 300 inverted microscope with digital image acquisition. We use IQMaterials Image processing software for automatic grain size measurements, phase percent distribution and accurate NIST-calibrated measurements.
As a leading independent ISO certified metallurgical testing laboratory Rocky Mountain Laboratories has provided expert microstructure analysis for a broad range of clients and industries across the country andaround the globe.

